Abiquo 6.1 introduces support for Azure Database for MySQL so you can manage an Azure single server as part of your Abiquo multicloud platform with Abiquo XaaS (Anything as a Service). The Azure Database for MySQL service requires a separate Abiquo license.
You can use Azure Database for MySQL with standard Abiquo Azure compute credentials. See Obtain Azure credentials and Obtain Azure ARM credentials for CSP.
To work with Azure database for MySQL:
Privileges: Manage default services
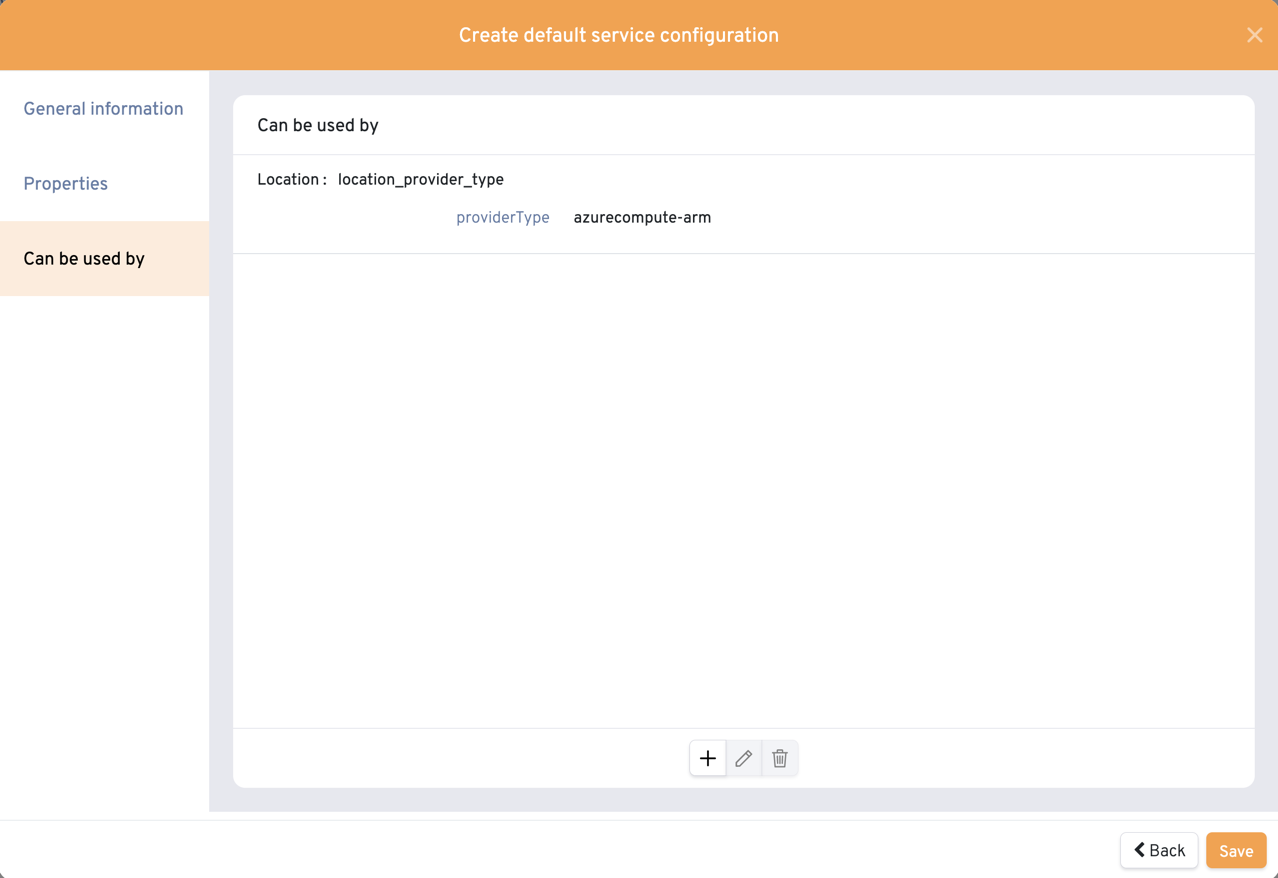
Go to Catalogue → Services
Add the Azure Database for MySQL service
For Can be used by add Location of type azurecompute-arm
Go to Infrastructure → Public
Add the Azure region/s for your databases to your Abiquo platform
From the user icon menu or from Users view, edit your enterprise credentials and add your Azure compute credentials
Go to myCloud → Global, select Azure, and onboard or create a resource group
Go to myCloud → Locations and select the Azure region where you would like to create the Azure database
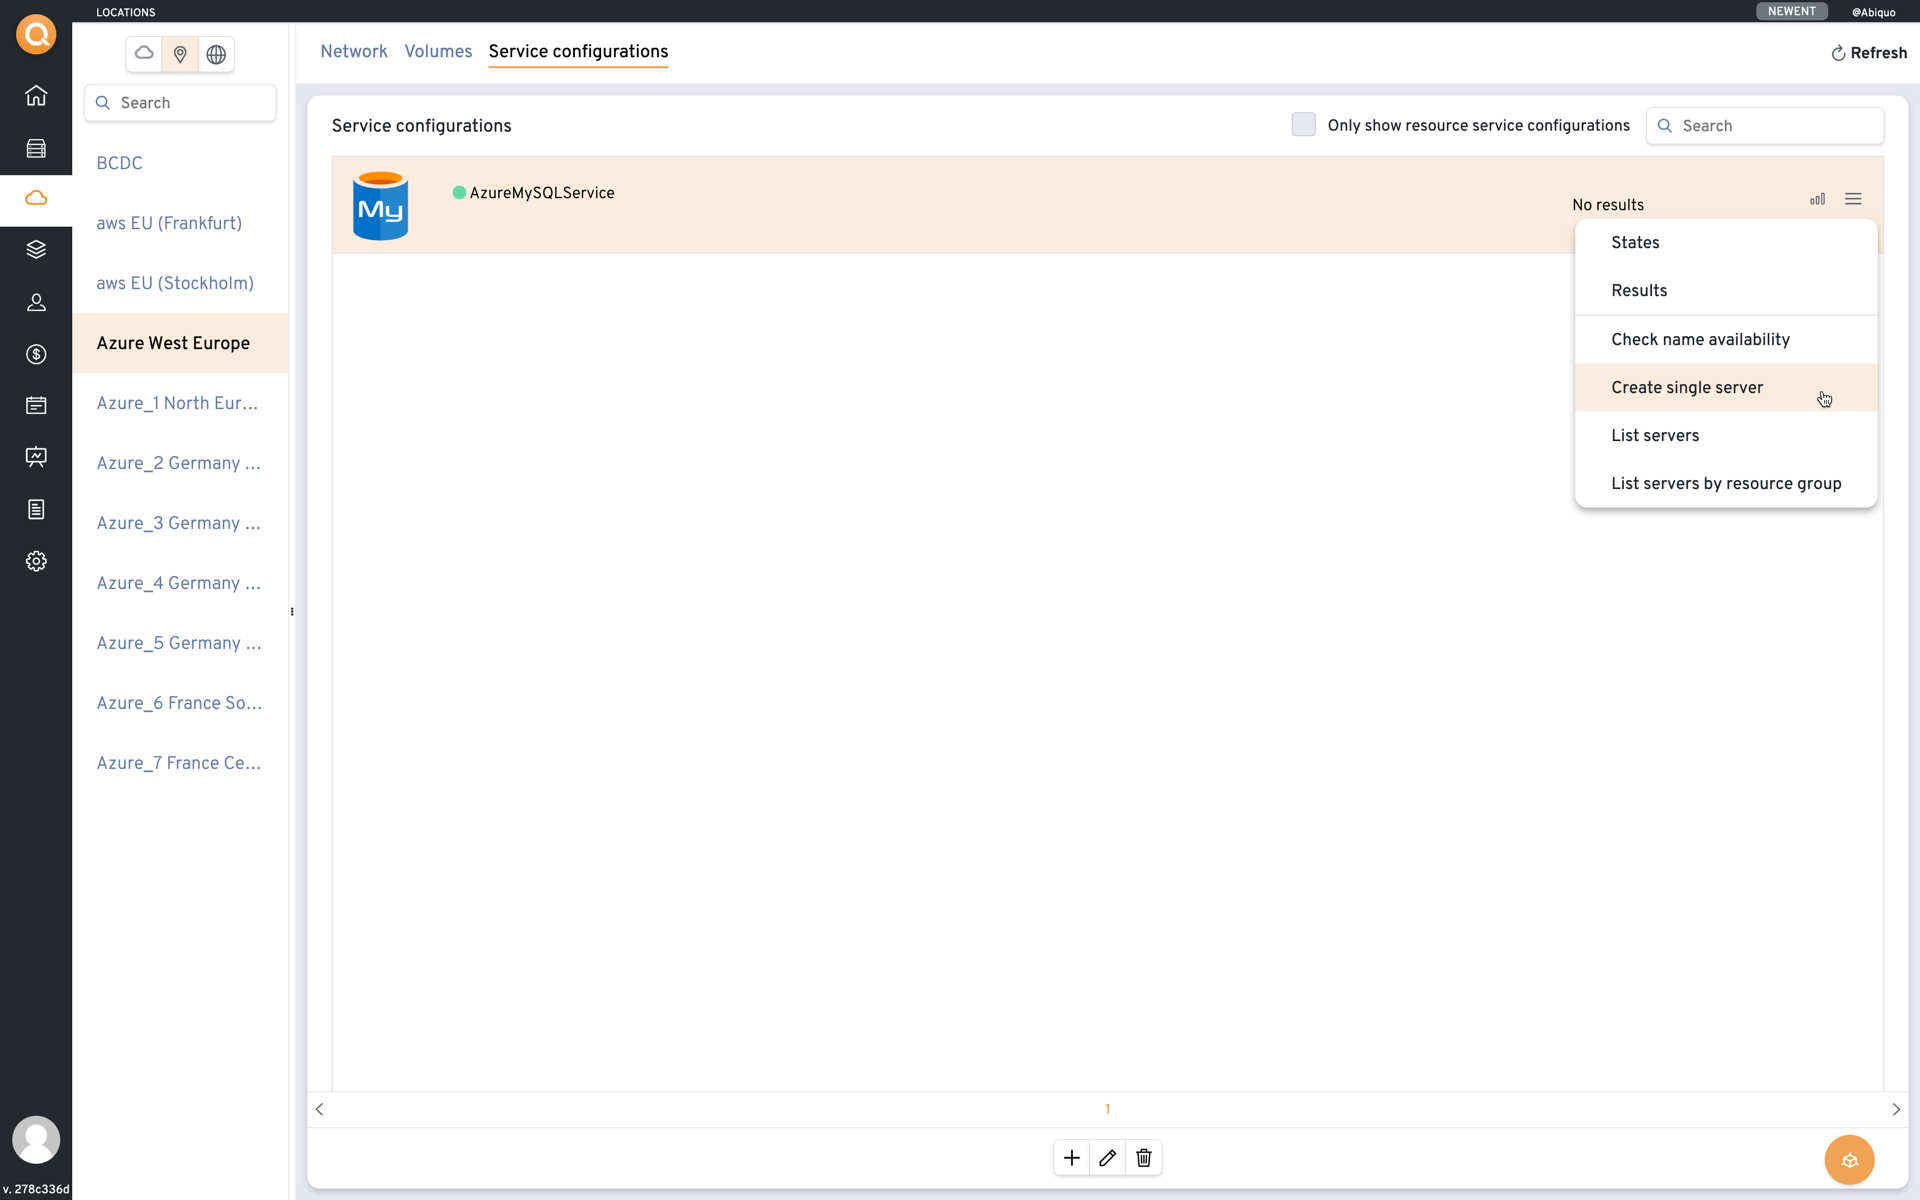
Go to Services and add the Azure Database for MySQL service
Privileges: Manage location services
To create a MySQL Database Instance:
Privileges: Use location services and Run actions on usable services, or Manage virtual datacenters
From the service Options menu, select Create single server
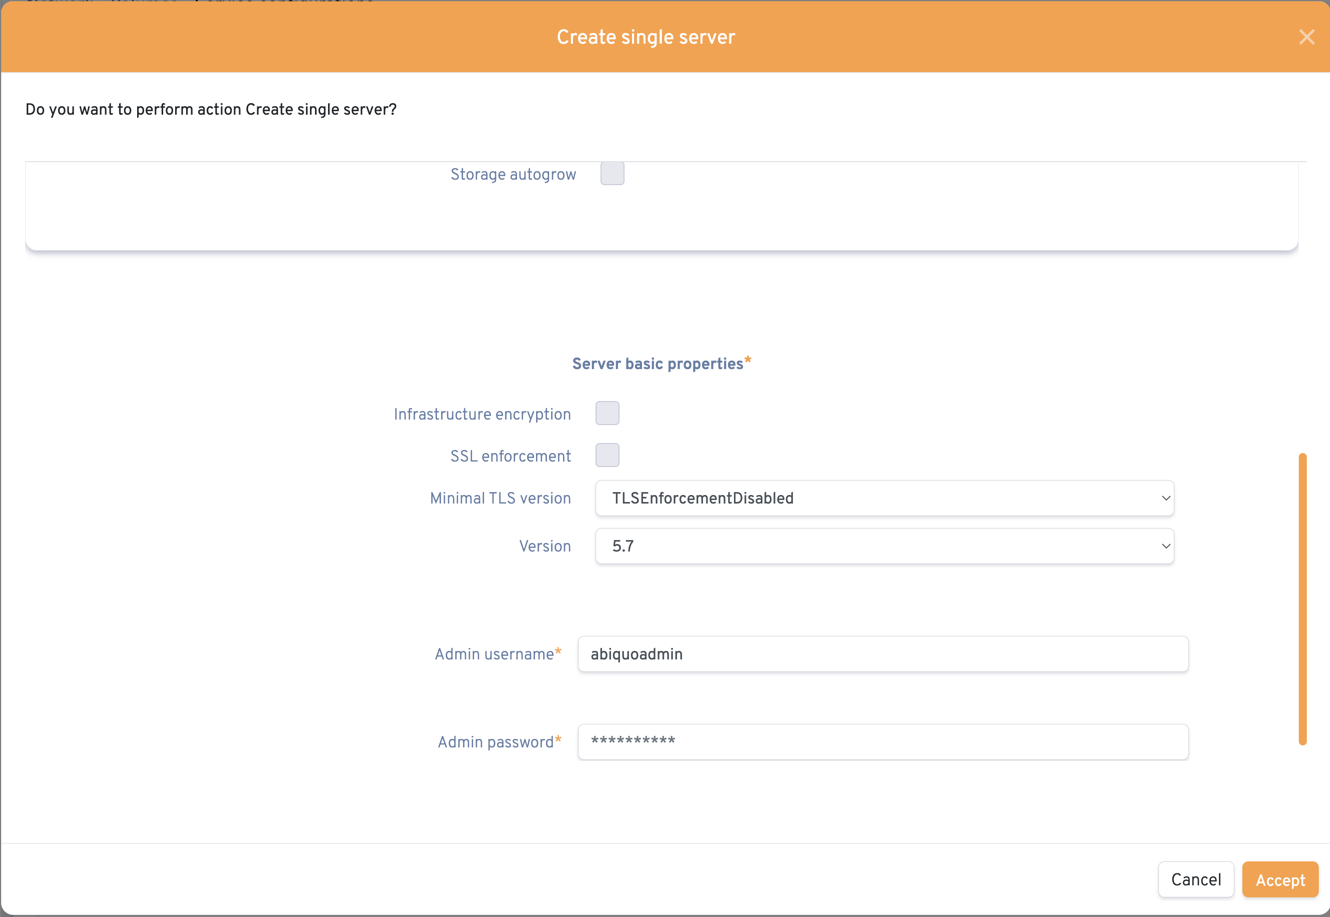
Enter the properties for the creation of your database
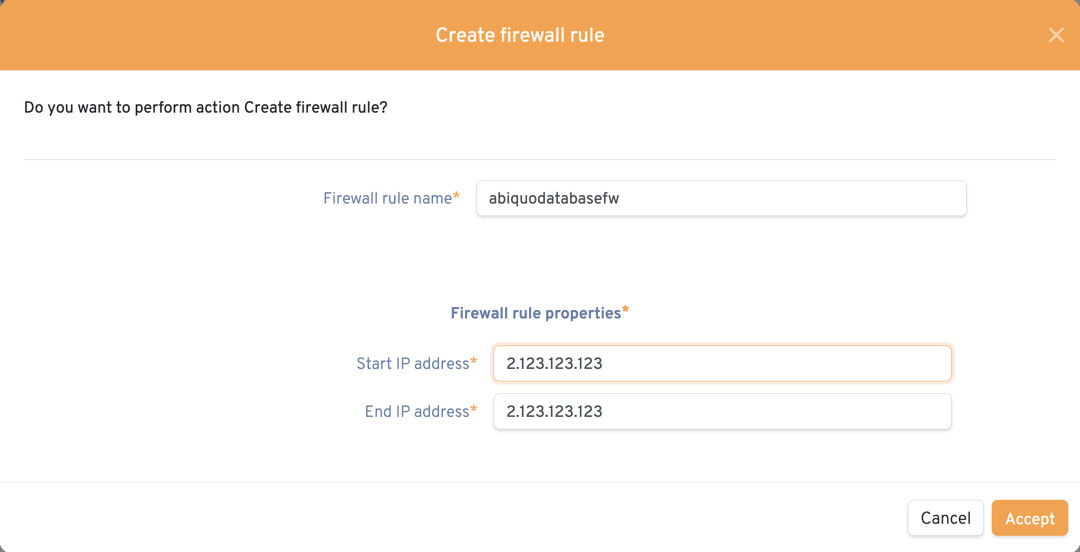
To allow a connection to your database, from the service Options menu, select
Create firewall ruleand enter your IP address. Obviously, you should use your own IP address and not the one in the screenshot below.
After you create or onboard your Azure MySQL instance, you can monitor it using Abiquo Service Metrics for XaaS. See Service metrics


